DIY Projects to Create Your Dream Home
When it comes to do-it-yourself home improvement projects, most people think they “wood” if they could. But can you?
The practice of buying an older house and customizing it to become your dream home has been around for decades but received a surge in popularity after the HGTV show “Fixer Upper” premiered in 2013. Following a couple from Waco, Texas, as they cut, demolish, and build their way through Texas’s older homes, the show inspired many people to start dreaming of what they would like to have in their own fixer-upper.
In fact, Google searches for “fixer-uppers for sale” have maintained a steady increase in popularity since the show first aired in 2013. Buying a fixer-upper provides many benefits beyond just the opportunity to feel like you’re on an HGTV show, they’re also relatively cheaper and easier to get into than move-in-ready homes.
Michigan realtor Jason Gelios said more and more people shopping for homes in 2021 are looking at fixer-uppers because the competition is less than those ready to be moved into, also called “turn-key” homes.
Homes can be hard to afford. And with people antsy to move into a dream home, it makes sense that a fixer-upper might be an appealing option. Those with aging parents might also want to DIY a more accommodating homestead.
Read on for tips about what you can reasonably do yourself, and when you should call in the professionals.
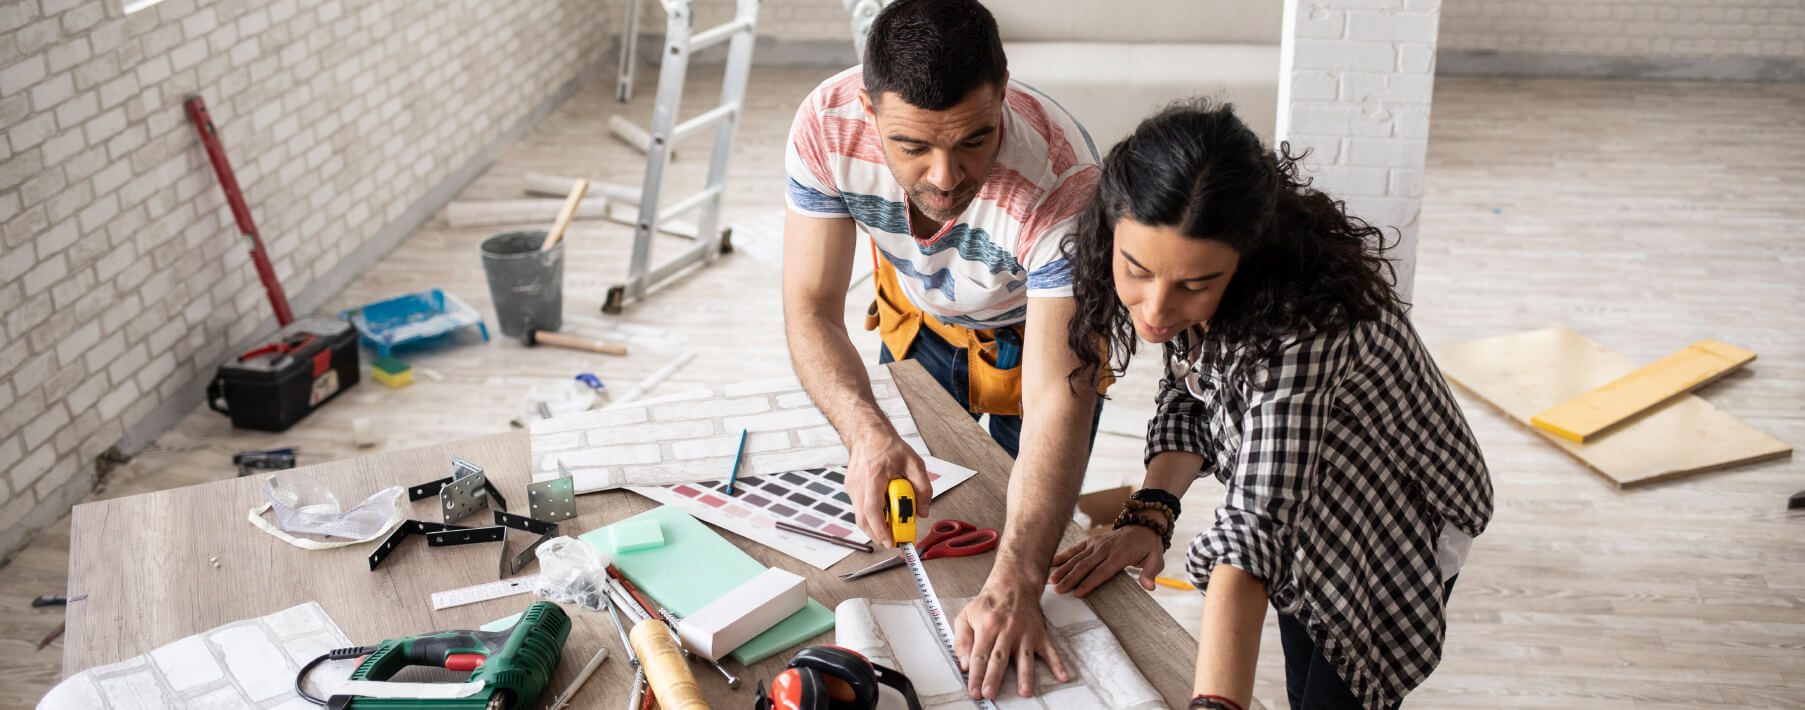
Best DIY Home Improvement Projects to Tackle Yourself
A successful DIY home improvement project requires accessible tools and moderate effort. You don’t want to push yourself too hard and spend hundreds of dollars on tools you’ll only use once.
1. The Writing is on the Walls: Painting and Wallpaper
- Projected Cost: $100–200 per room
- Projected Time Investment: 2–4 days per room
A fresh coat of paint or wallpaper can do wonders for your home. Whether you choose to change up every wall or just a few, it’s invigorating to freshen up your space. These projects are also typically low-effort and affordable.
To paint your room, you’ll need a paintbrush and roller, your selected paint color, a tarp or drop cloth for the floor, a paint tray, and painter’s tape. When wallpapering, you’ll need the wallpaper, wallpaper paste, a paintbrush, and a trimming knife. If you want to make wallpapering easier, you can also buy peel-and-stick wallpaper that essentially acts as a large wall decal.
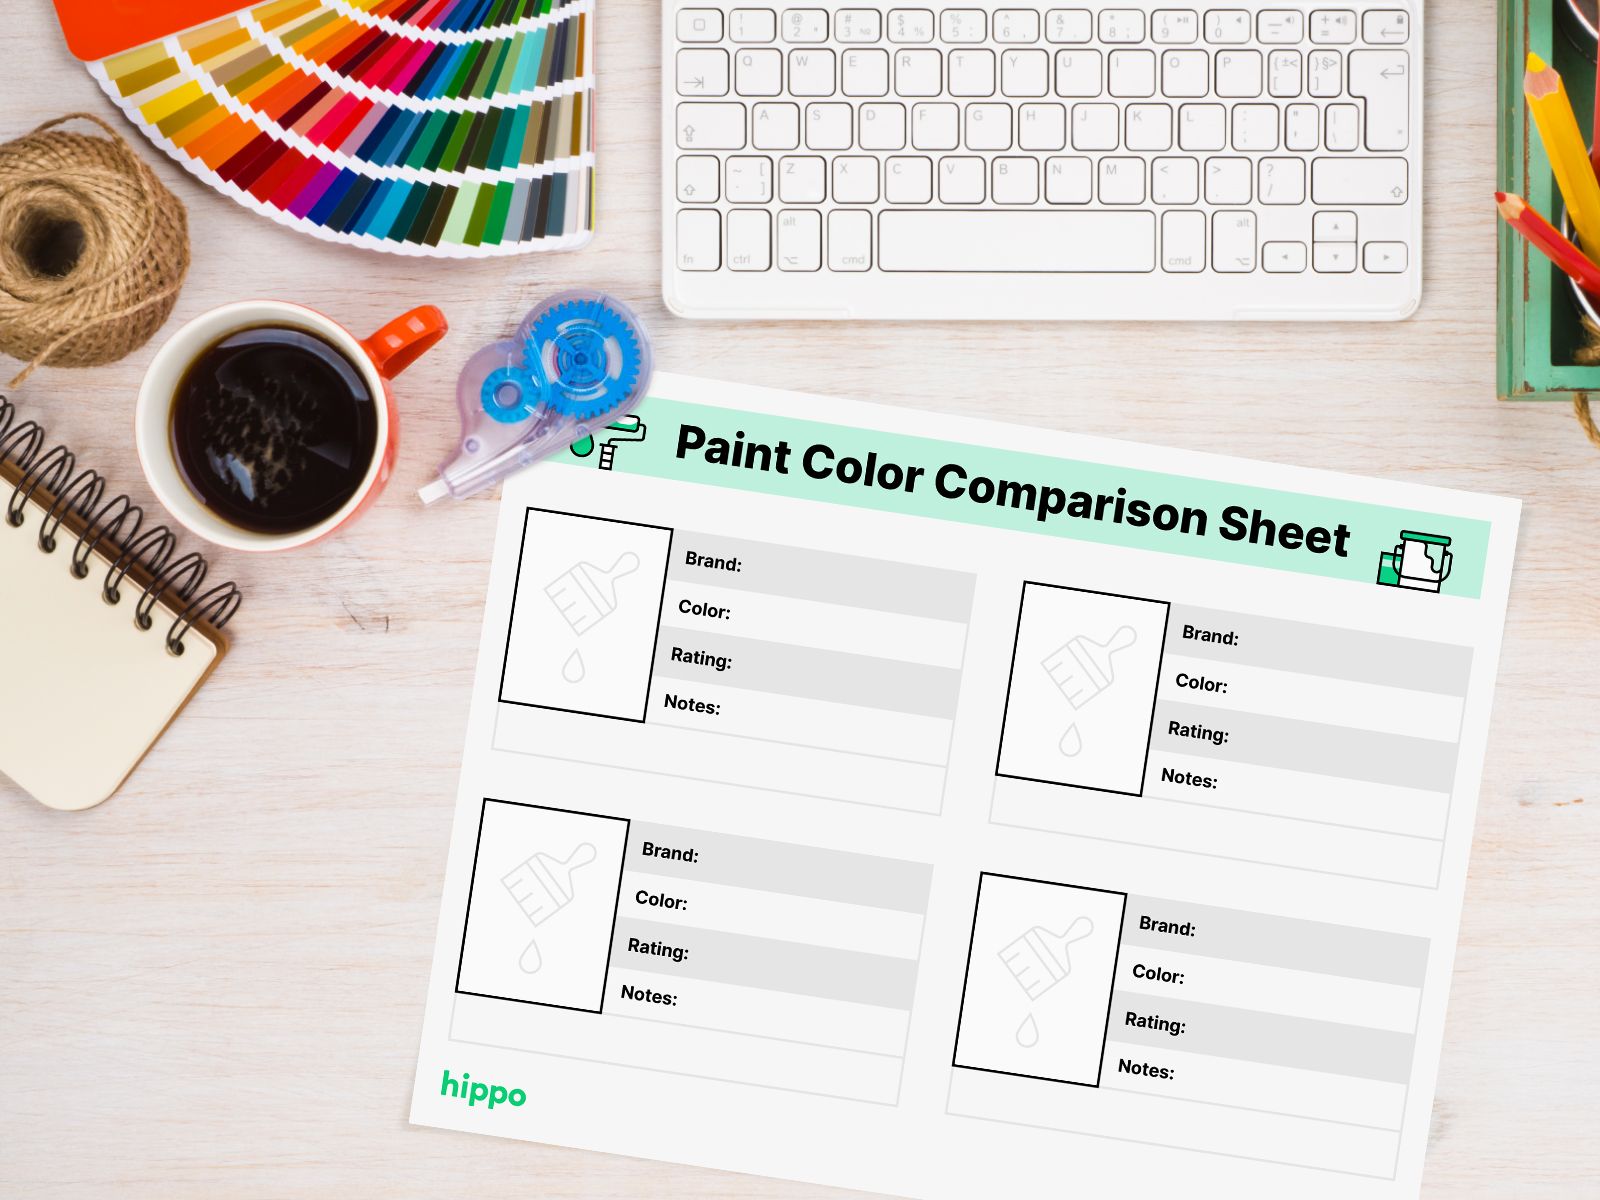
When choosing your colors, you want to consider the mood of your room. Intense reds and greens can make your space pop, while more subdued pastel pinks and blues can create a serene sanctuary. Use a paint color comparison sheet like the one below to help you decide on the perfect shade.

2. Handle It Yourself: Door Fixtures
- Projected Cost: $500
- Projected Time Investment: 4-5 hours
There are many opportunities to breathe new life into your home and insert subtle quirks that will express your personality while livening up your space. One way to do this is by replacing the hardware on doors, cabinets, drawers, and any other fixture with a handle.
Usually, all you need to replace a door or cabinet handle is the replacement hardware, screws, and a screwdriver. You can purchase vintage doors or cabinet handles at resale shops or on Etsy. You may even opt for new options at places that sell home decor.
There are many options when replacing your hardware. You can go bohemian and have mismatched cabinet handles in your bright, art-covered kitchen, or keep it cool and go for a sleek and modern design that will pull the space together. For design inspiration, check out Pinterest or start working on a vision board by looking up fun images online.
3. Don’t Forget Your Roots: Gardening
- Projected Cost: $300
- Projected Time Investment: 1 day to plant, plus time spent tending the garden
Besides providing some serious curb appeal, an outdoor garden can serve as a fun hobby, a relaxing sanctuary, and a visual staple. Whether you choose to plant an oasis in your backyard or opt for a row of manicured bushes out front, the way you choose to express yourself outdoors can make your home feel more like your own.
Gardening supplies depend on your level of commitment. For some, mulch, potted plants, and a shovel are enough to get the job done. For those who want to build a full garden, you’ll need a host of other gardening supplies depending on the purpose of your garden.
No matter what you choose, gardening is a DIY project that can also become a fun hobby. Getting out into nature and tending to a garden will not only make your home stand out but can also be a boon to your mental health.
4. Make Contact: Countertop Revamp
- Projected Cost: $200-400
- Projected Time Investment: 6-8 hours
Replacing a countertop or backsplash might seem like a long, arduous process, but some workaround can make this a simple DIY home upgrade to tackle. An added bonus: they look just as good and are easy to change if you get indecisive.
Contact paper and other peel-and-stick tile or countertop solutions are waterproof and durable, but they aren’t as permanent as those installed with caulk. Your walls and counters will still be protected, but you won’t have to pay big bucks or outsource the work.
Contact paper and peel-and-stick tiles options are available in many different designs and colors, so whether you want your bathroom to be minimal and modern or cozy and artsy, you can most likely find the perfect choice for your project.
For those who want to go the traditional route, you’ll need to invest in tiles, grout and a putty knife to install the pieces onto the wall.
6. Don’t Get Cabinet Fever: Redoing Your Cabinets
- Projected Cost: $300
- Projected Time Investment: 2-4 days
Just like a coat of paint can revamp a bedroom, changing the color and handles on cabinets can transform the feel of a room. You can change your cabinets’ look without having to totally replace the entire unit, making this an accessible DIY project that can seriously change the mood of a kitchen, bathroom, or laundry room.
To paint your cabinets, you’ll need sandpaper, paint, a paintbrush, and a final coat to seal your work. While some cabinets won’t need to be sanded before painting, you’ll want to examine yours to determine whether it’s a necessary addition to the job.
Painting your cabinets a bright color like yellow can make a dark bathroom seem lighter and more fun while going for a traditional white or black can renew the air of sophistication inside the home. Once you’ve finished your painting job, finish off your cabinets with some new handles, and you’ll have a completely different look.
How to Nail Your DIY Home Renovation
Before you start hammering, it’s best to formulate a plan of action. Staying organized and focused can help your project run smoothly. Before getting started on your next DIY home improvement project, make sure to check each of these things off your list.
Have a Vision
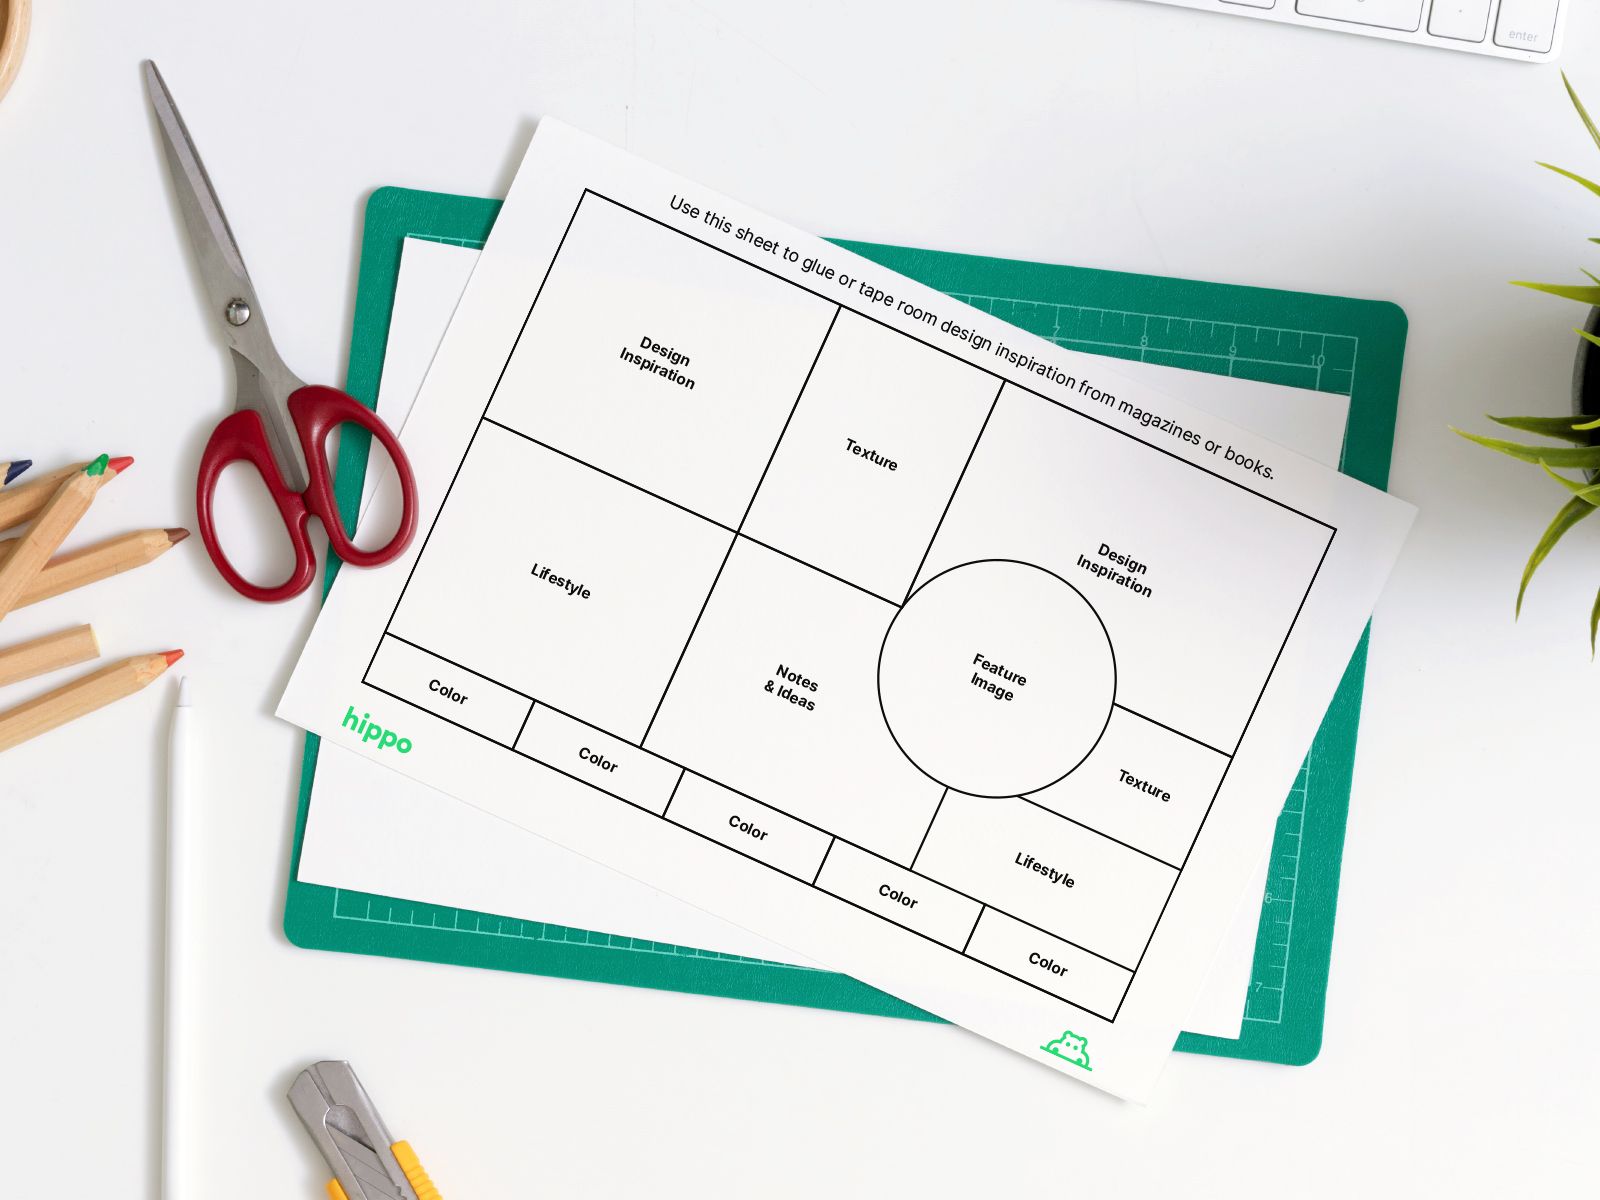
You don’t want to dream up a beachy oasis, only to incorporate elements of rustic industrialism that throw off the look and make your home feel too chaotic. Having a clear vision of what you want your room or home to look like can help you get it there. To start dreaming up your remodel, start with a vision board like the downloadable one below.

Make a Budget
Everyone has gone into a store and had a few low-cost items add up to a higher total than you were anticipating. The same goes for remodeling. Splurging on more expensive paint, a nicer deck, more high-tech smart home gadgets, or any other seemingly small addition to cost can add up to a bigger total than you initially thought. Keeping close track of your budget is a smart move.
You can also consider downloading a budget tracking app that can help you streamline your finances and make sure you don’t go overboard:
- Budget My Reno: Built specifically to track home remodel and renovation costs.
- HomeZada: Home inventory and home renovation app that can assist in all steps of homeownership.
- Goodbudget Budget Tracker: Generic budget tracker that can be used for remodeling costs.
Stay Organized
During your remodel, your space most likely won’t be a model home. With so much work to be done, you’ll likely get a little messy. Staying organized is crucial to making sure you hit your project timeline goals and don’t misplace any important tools.
To keep things in order, consider investing in a closeable file folder or file cabinet to keep essential documents safe. You might also want to consider removing any valuable or unnecessary items from the home and putting them into a storage unit during the remodeling process.
Stay on Track
During your home remodel, you don’t want three months to become three years. Keep yourself on track by developing a design plan and to-do list system before you get started. Give yourself a few days of cushion in case of mishaps or accidents, but try to follow your schedule as adamantly as possible.
Breaking your project up room-by-room with a set goal and timeline can make the entire project seem more palatable. You can use our timeline and to-do list template like the one we’ve included below to help keep you on track.
When to Call a Contractor
Some jobs aren’t for a casual renovator. These projects can be risky when not handled by a professional, or may be more costly when attempted to be done by yourself. Any time a project threatens the overall safety of the people in your home or the structure of the home itself, it’s best to call a contractor and get it done professionally.
A few renovations that will require a contractor:
- Demolition
- Plumbing
- Electrical work
- Flooring
- Roofing
- Structural work
These jobs often require expert knowledge and expensive tools. If you made a mistake on a job, it could not only cost you more money but could put you in a potentially dangerous situation. Plus, if a service line is installed or maintained incorrectly, it could be costly in the future.
So before you go out shopping for a sledgehammer and electrical tool kit, consider calling in some backup.
Questions to Ask Before Calling a Contractor
Before you commit to DIY or hiring out, ask yourself a few questions about the scope of the project. These can help you determine which next step to take.
- Could doing this job harm my family or myself?
- Does this renovation require a permit?
- Could this job potentially destroy any part of my home?
- Will tools, equipment and time be more costly than hiring someone to do the job?
- Can I physically and mentally handle this job?
Asking yourself these questions can help put the project into perspective and determine whether you’re making the right choice.
Living the Dream
At the end of a long renovation, you can feel proud that your home turned out to be precisely what you wanted. Every tile color, wall covering and adornment can be exactly what you imagined before the renovation began.
With so much time and energy spent designing and executing your dream, you’ll want to then make sure it’s all protected. That’s where Hippo comes in. Don’t let your dream home turn into a nightmare — get homeowners insurance to keep your dreams sweet.