
When the storm rolls in, stocking up on duct tape and sandbags will help keep floodwater out of your house. But there is so much more you can do to be proactive before the waters start to rise and leaks start trickling in.
Before you find yourself in a position where you need to consider how to keep floodwater out of your house, check with FEMA to find out if the location of your home is a high-risk area for flooding. Once you have that information, it’s a great idea to check your homeowners insurance to see what perils your policy covers. If it doesn’t cover flood damage, consider adding it to your coverage, especially if your home is in a flood zone.
With damage ranging from mold and mildew to structural and electrical damages, getting prepared for this common peril can help you prevent serious financial consequences. Here’s how you can prepare and keep your home and your head above water.
Key takeaways:
- Being proactive can help you prepare for a flood and prevent damages before they occur.
- Discover helpful tips on how to prevent flooding in home areas, like cleaning your gutters and installing preventative devices.
- Learn if you live in a high-risk flood zone and programs that offer assistance.
1. Get some duct tape
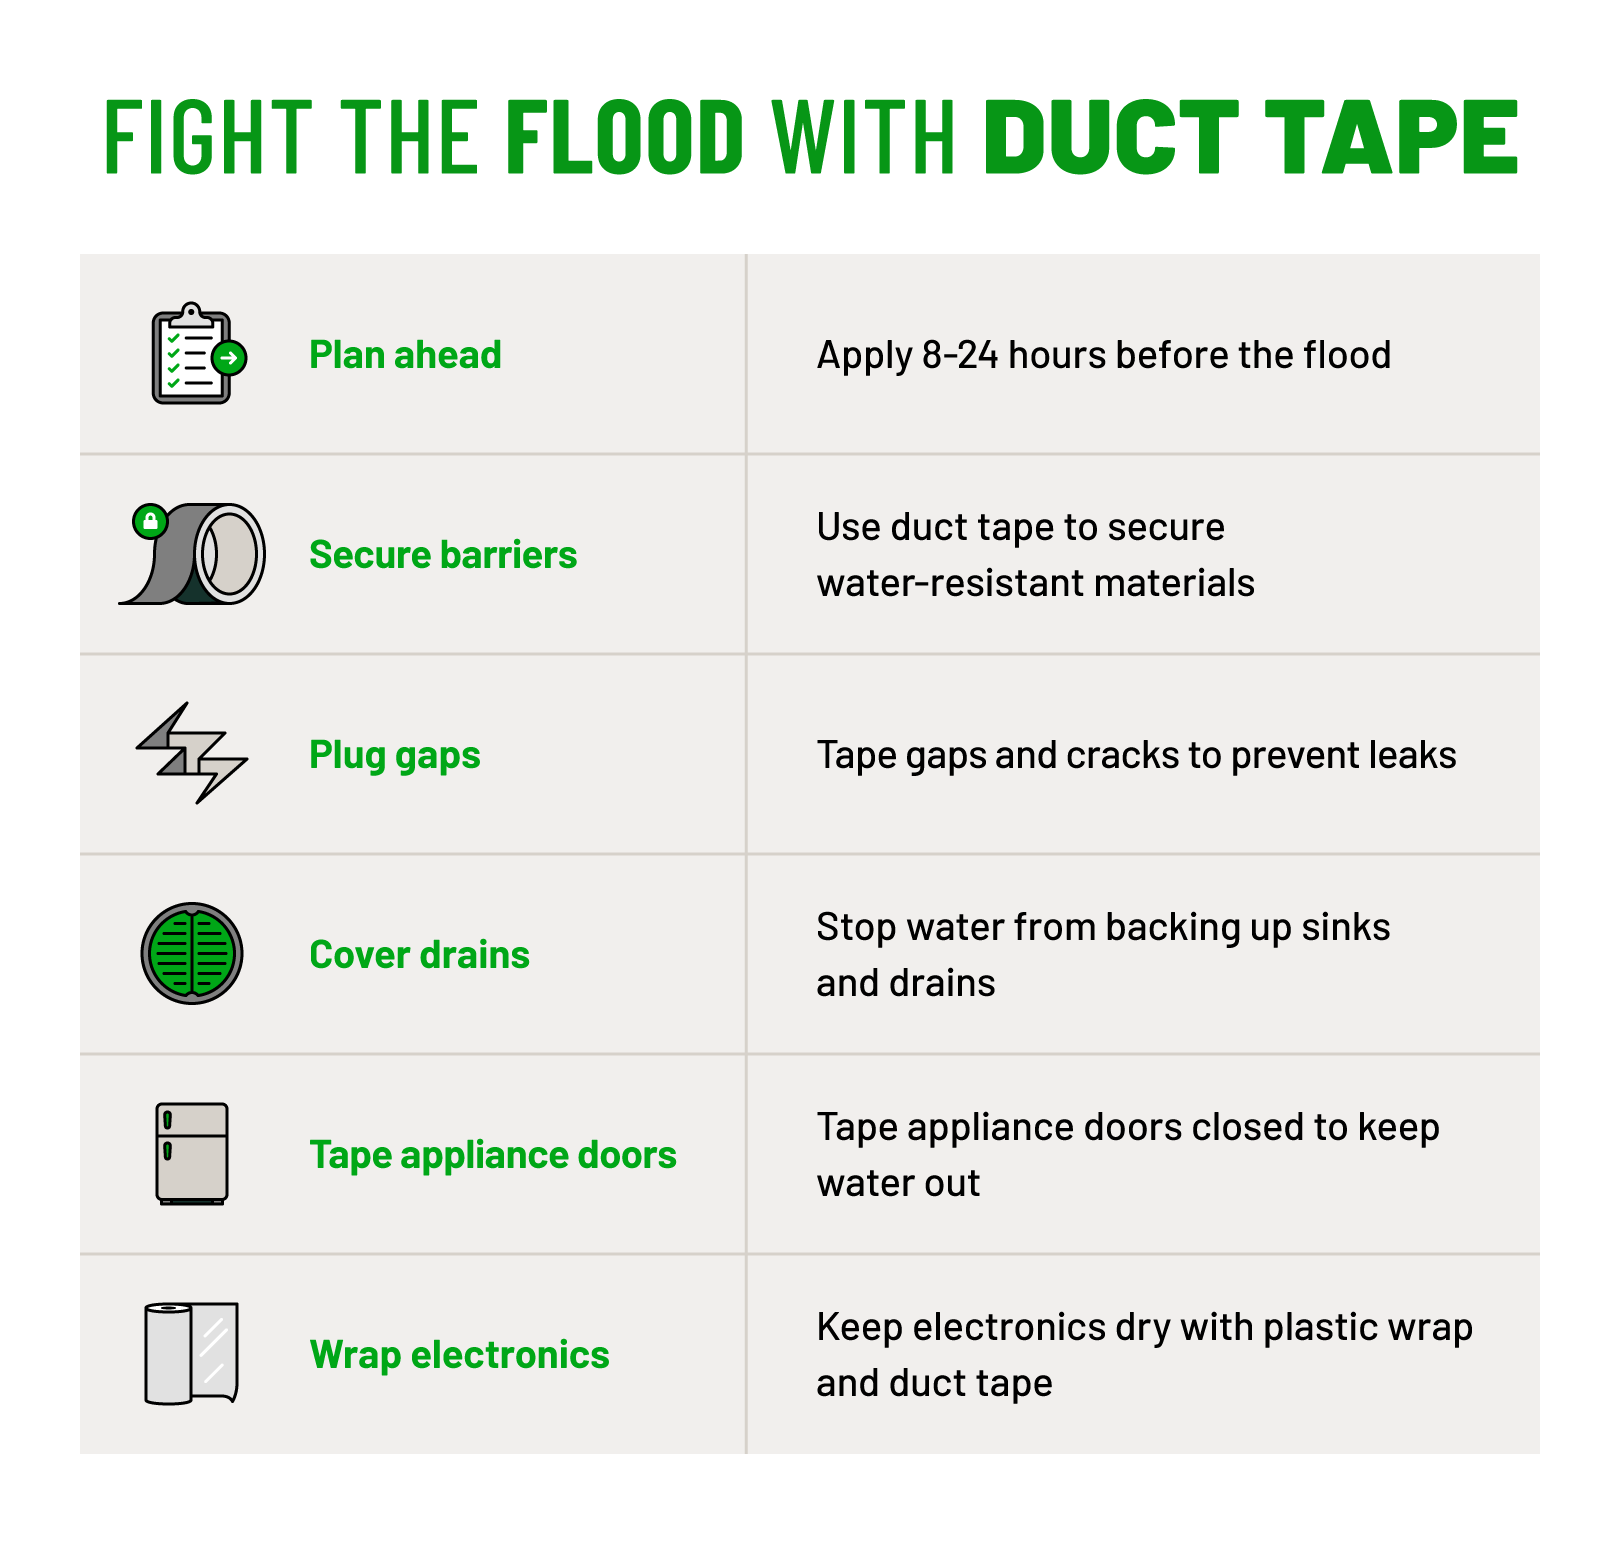
There’s a long-running joke that duct tape can fix anything and everything. Turns out, there is some truth to that. Water-resistant duct tape can come in handy to secure sandbags, expanding foam, and plastic sheeting that prevents water from leaking into your house. Here are a few different ways to use duct tape in preparation from a flood.
- Plan ahead: Apply duct tape to dry surfaces eight to 24 hours before the expected flood.
- Secure barriers: Use duct tape to help secure sandbags, expanding foam, and plastic sheeting in place.
- Plug gaps: Apply expanding foam or plastic sheets to cracks and gaps around doors and secure them with duct tape.
- Cover drains: Place sandbags or expanding foam over drains and secure them with duct tape to keep water backup from flowing out of your bathtub and sink drains.
- Tape appliance doors: Duct-tape appliance doors closed to keep water out.
- Wrap electronics: Protect your electronic devices from ruin by wrapping them in plastic and taping them closed.
2. Stock up on sandbags
Don’t get caught with your head in the sand. If you live in a flood zone, proactively having a stock of sandbags on hand can help you avoid a sold-out situation at your local home improvement store when you need them the most.
Keep a generous amount stored in your garage or shed until you need them. Heavy-bodied, sandy soil is the best kind of sand for water prevention. Pick bags that are small and light enough for you to handle. For increased sandbag protection, use the pyramid placement method to form a barrier in the shape of a pyramid.
3. Clean your gutters
Gutters are designed to guide rainwater off your roof and away from your home. Clogged gutters allow water to collect on your roof and can cause structural damage, mold, and rotting. Clear your gutters of any leaves, twigs, muck, and other debris at least twice per year: once in the spring and once before winter. Being proactive with this easy task is one of the best flood control methods.
4. Point your downspouts away from the house
Your downspouts are the pipes that run vertically on the side of your home and pick up where your gutters leave off. If your downspout isn’t far enough from your house, water can leak back into your basement or cause foundation issues or mold growth.
Direct (and extend if necessary) downspouts away from the house so water can flow farther away from your home. Optimally, your downspouts should extend 5-10 feet from your house, with one downspout for every 20 feet of guttering.
5. Add extra space between siding and mulch
This tip can often be overlooked when prepping your home for flood prevention. When doing your landscaping, leave the recommended gap of at least six inches between your mulch and your siding. To prevent water from pooling, dig a 6-inch trench in the space between your mulch and siding and fill it with rocks. Your plant bed should be a few inches lower than the trench to protect from water runoff.
These barriers help keep moisture in the mulch bed from wicking to your siding, which can lead to water damage like mold, mildew, and decay. In the event of a flood, these barriers can also add extra protection from water making it into your basement or crawl space.
6. Waterproof your basement
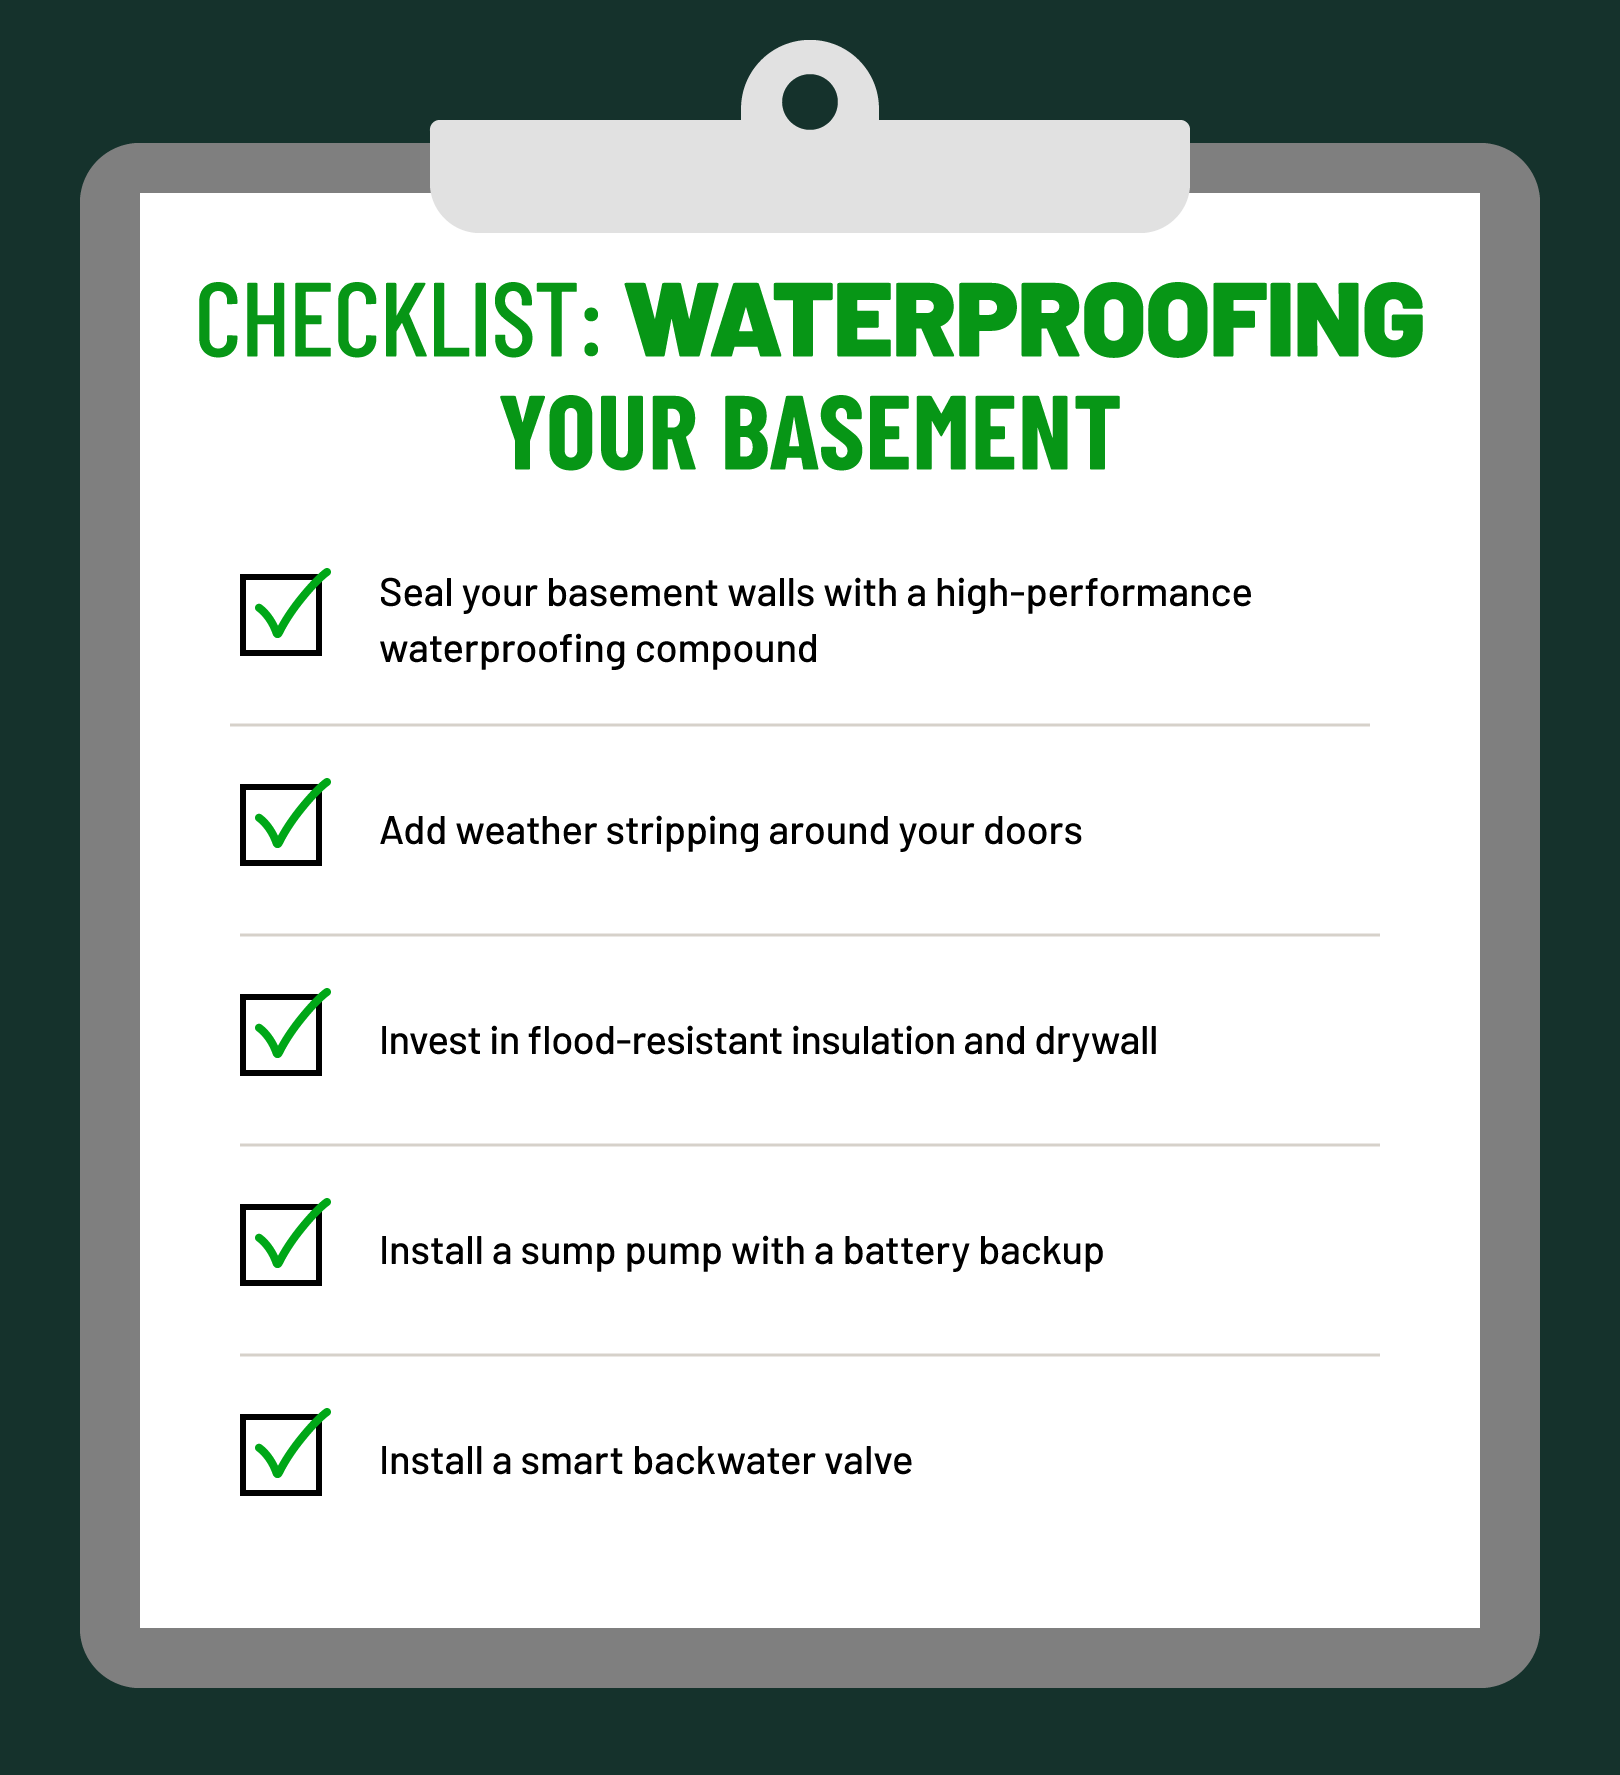
One of the most vulnerable areas in your home during a flood is your basement. Get ahead of the storm and make sure your basement is watertight with these DIY tips.
- Seal your basement walls with a high-performance waterproofing compound.
- Add weather stripping around your doors.
- Invest in flood-resistant insulation and drywall.
- Install a sump pump with a battery backup.
- Install a smart backwater valve.
Taking these proactive measures can help keep trouble at bay and your basement dry and safe.
7. Install preventative devices
Consider installing preventative devices that can help you take care of issues before they even start. A check valve, also known as a non-return valve, is a small device installed on your pipes to ensure water flows in only one direction. When flooding occurs sewers can overfill, pushing water back through your plumbing system. Installing this valve lets water pass through your pipes, but prevents it from flowing back up the pipes to a toilet or sink.
Consider installing a smart home device that can detect water and gas leaks and provide professional assistance to help you when you need it most. Smart home devices may even help you save on your homeowners insurance premiums.
8. Add caulking to gaps around your windows and doors
A quick solution for how to prevent flood damage is to caulk the gaps around your windows and doors. Look for spaces or uneven areas around them where water can come through. Add silicone caulking on the edges of the frames to seal the gaps. Caulking does wear down over time so it is a best practice to inspect it regularly.
9. Raise your electrical outlets, switches, and sockets
Electricity and water don’t mix. Not only can that combination be harmful to humans, but the damage to your home’s electrical components can become a fire hazard and massive headache. Even if they are only briefly submerged, some or all of the system may need to be replaced — and it can be shockingly expensive. The average cost to repair water damage to home electrical components ranges from $1,200 to $5,000.
Have all electrical components and wiring (including the fuse box, meters, circuit breaker, outlets, switches, and sockets) raised by an extra 2-3 feet by an electrician. Don’t forget to check with your local electrical company for the maximum height the components can be raised.
10. Raise your appliances
One reliable way to keep your appliances safe from flood damage is to keep them out of the water altogether. Raise your appliances 2-3 feet off the ground so that in the event some water makes it into your home, you have a buffer zone.
Replacing your appliances can be costly if not covered under the common peril of flooding. Check your policy to see if your homeowners insurance covers water damage from flooding.
11. Tilt your lawn away from your house to run toward the street
Your lawn should always tilt away from your house. If this is not the case, it’s a good idea to create a slope on your lawn so water can run toward the street and not into your house.
- Walk around your house after it rains to see where water accumulates.
- Determine how close the pools are to your house. The closer they are to your house, the more likely flooding will be.
- Redirect rainwater with grass barriers.
- Tilt the ground 1 inch for every foot you move away from the house (for the first 10 feet around your house).
12. Raise your house with stilts
Have you heard of raising your house on stilts? If you live in a high-risk area for flooding, the cost and work to make it happen may be worth it.
The cost to lift your house widely ranges from $10,000 to $100,000 depending on if you need to replace your foundation. You’ll need a permit and to consult with structural engineers and contractors who specialize in raising houses to safely perform the lift. Hydraulic jacks are used and can slowly and evenly raise your house to prevent structural damage.
Check with FEMA to see if you qualify for a Flood Mitigation Assistance Grant. This program grants funds to projects that reduce the risks of flood damage. Avoiding flooding altogether with this preventative measure may qualify you for financial assistance.
13. Dig a drainage system around your house
Installing a drainage system around your house can be one of the most effective solutions to flooding. Follow these steps to help you with your project. As always, don’t forget to call 811 before you dig to keep yourself and underground utility lines safe.
- Dig a trench approximately 1 ½ feet deep and 1 foot wide
- Put water-absorbing landscaping fabric in the trench
- Add 3 inches of gravel
- Place drainage pipe in the trench
- Cover with another 3 inches of gravel
- Cover trench with soil and rocks
Be proactive, not reactive
Don’t wait for the storm clouds to roll in to prepare your house against unforgiving floodwaters. Each of these 13 tips on how to protect your house from flooding can help you be proactive and stop floodwater damage before it starts. Consider each tip and decide which ones are the best option for you and your home. Stop treading water and start your flood prep today.
Whichever options you choose, Hippo’s proactive homeowners insurance can help you crush homeownership while you prepare for the flood that, hopefully, will never happen.